Last Updated: January 2026
Microblading is one of the most satisfying glow-ups in the beauty world. It’s also one of the easiest procedures to overthink—because the healing process has stages, and those stages have a personality.
Here’s the truth: the first week after microblading can feel like a tiny, dramatic reality show starring your eyebrows. Day 1 is bold. Day 4 is confusing. Day 7 makes people question everything. Then—almost like magic—things settle and the brows begin to look like what you actually signed up for.
This guide is your microblading survival plan. It’s written to help you make smart choices before your appointment and feel calm and confident after your appointment—without spiraling into a 2 a.m. Google deep dive.
We’ll cover:
- What to do before your appointment (and what to avoid)
- What “normal” healing actually looks like
- Do’s and don’ts for day-by-day aftercare
- Common mistakes that can change healing outcomes
- How to think about microblading as a beauty maintenance timeline (like other beauty services)
If you like having the full picture of how a semi-permanent brow service is performed from start to finish, you can also review our treatment process page for an overview.
Before Your Appointment: The Prep Survival Guide
The best microblading results start before your appointment day. Not in a stressful way—more like a “set yourself up for success” way.
Think of it like hair color: you don’t show up with box dye on your hair and then expect the stylist to perform miracles in one sitting. You show up with good communication, clean expectations, and you follow the plan.
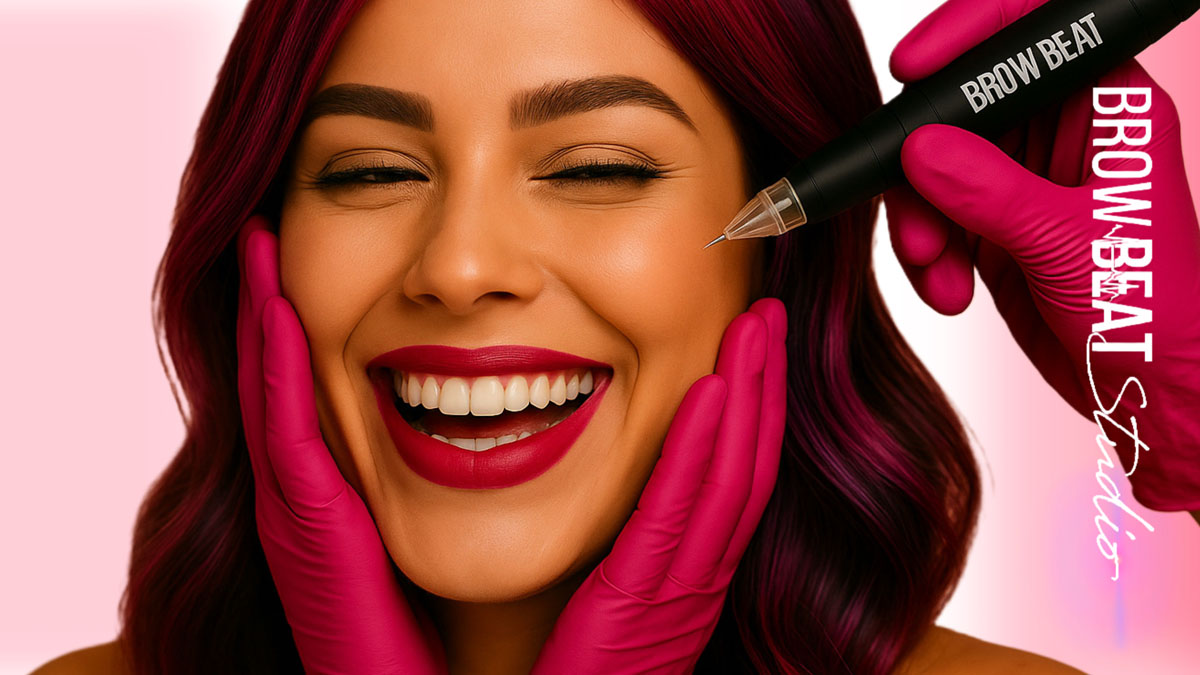
Do: Choose an Artist Like You’re Choosing a Long-Term Beauty Provider
Microblading is a skill-based service. The result depends on technique, design, pigment strategy, and how the artist plans for healing. A reputable studio should be able to explain the process, answer questions clearly, and show consistent healed results.
If you want to see real transformations and healed outcomes, browse the microblading before-and-after images and our full gallery.
Do: Book When Your Schedule Can Handle Healing
Microblading healing has stages. You do not want to book your appointment the day before a wedding, a photo shoot, or your annual “everyone stares at me under bright lights” corporate event.
Give yourself breathing room. Let your brows go through their normal process without pressure.
Do: Communicate Your Brow Preferences Clearly
Be specific about the look you want:
- Soft and natural vs. more defined
- Straighter vs. more lifted
- Fuller front vs. airy front
- Tail length and direction (yes, this matters)
This helps your artist design brows that match your face and your style. Brows should look like you on your best day—not like someone else’s screenshot.
Don’t: Show Up with “I Don’t Know, Just Make Them Perfect” Energy
“Perfect” means different things to different people. If you don’t know what you like, bring a few examples of styles you’re drawn to. Your artist can help translate that into something realistic and flattering for your face.

Do: Plan Your Skincare Around Your Brow Area
In the days leading up to your appointment, avoid irritating the skin in the brow area. Think of your brow skin like a freshly ironed shirt—don’t crumple it right before the big moment.
General prep reminders many clients find helpful:
- Avoid harsh exfoliation near the brow area right before your appointment
- Don’t schedule facial treatments that could sensitize the brow skin right before
- Arrive with clean skin and realistic expectations
Don’t: Wax, Tint, or Aggressively Groom Right Before
Your artist will work with your natural brow hair growth and your facial structure. Arriving with irritated skin or overworked brows can complicate the process.
Do: Understand That Microblading is a Two-Step Process
Microblading is typically planned as a two-step process:
- Initial appointment (the foundation)
- Second treatment (refinement + reinforcement when appropriate)
This isn’t “extra.” This is how polished results are built in semi-permanent makeup. It’s the same logic as hair color: first appointment lays the base, follow-up perfects the finish.
Do: Make Sure You Know What Aftercare Actually Involves
Aftercare isn’t complicated, but it does require consistency for the first stage of healing. If you want the cleanest, most detailed breakdown for that crucial early window, this guide is helpful: 14-day aftercare plan.
Don’t: Assume Your Brows Will Look “Normal” Immediately
Fresh microblading looks bolder and sharper at first. That is expected. Your brows will go through a process of softening, settling, and stabilizing.
In other words: Day 1 brows are not the final brows. Day 1 brows are the “new shoes” version—fresh out of the box. They break in.
After Your Appointment: Day 1–3 (The Bold Brow Era)
Welcome to the bold brow era. This is the phase where your brows look the most intense—because the pigment is fresh and the skin is just beginning to respond.
What many clients notice in the first 72 hours:
- Brows look darker than expected
- Edges look sharper
- Skin may feel a bit tight or sensitive
- You may feel hyper-aware of your eyebrows (normal)
Here’s the key: this phase is temporary. Your brows will soften as healing progresses.
Do: Follow Your Aftercare Instructions Like It’s a Recipe
This is not the moment to improvise. If you’re the type who adds “a little extra garlic” to every recipe—love that for you, but not for healing brows.
Stay consistent. Clean healing comes from predictable care.
Do: Keep Your Brows Protected
During the first few days, be mindful of anything that could introduce unnecessary irritation or contamination. Think “gentle and clean.”
Don’t: Scratch, Pick, or “Test” Your Brows
If your brows start to itch later in healing, it can be tempting to touch them. Resist. Picking can disrupt the healing surface and affect how pigment settles.
Do: Sleep Smart (Yes, It Matters)
Try to avoid friction on the brow area. If you’re a side sleeper, just know your pillow is not always your brows’ best friend during early healing.
Do: Expect the Brows to Change
It’s normal for microblading to look bold at first. The “settled” look happens later, after the skin calms down and the pigment stabilizes.
If you want to understand the bigger timeline of how brow services heal and settle, this breakdown is a helpful reference: healing process guide.
Next in Part 2: Days 4–10 (scabbing + flaking + the “is this normal?” phase), plus the biggest mistakes clients make during healing.

Days 4–10: The Flaking, Peeling, “Is This Normal?” Phase
This is the phase where most people start sending screenshots to their friends and whispering, “Do your brows look like this too?”
Short answer: yes. This stage is normal.
During days 4–10, many clients experience:
- Light scabbing or flaking
- Patchy-looking areas
- Temporary unevenness
- Color that looks lighter or duller than expected
This does not mean your brows are “failing.” It means your skin is doing its job.
Why Flaking Happens
Your skin is renewing itself. As the top layer sheds, pigment temporarily appears lighter. This is why experienced artists explain healing in stages rather than promising instant final results.
If you want a detailed breakdown specifically focused on flaking and peeling expectations, this resource helps normalize the process: microblading scabbing and peeling facts.
Do: Let Your Brows Heal Naturally
Let flakes fall on their own. It’s tempting to “help” the process along, but premature picking can affect pigment retention.
Do: Stick to Simple Skincare Around the Brows
During this phase, less is more. Avoid introducing new skincare products near the brow area. Your brows do not need a 10-step routine while healing.
Don’t: Panic About Temporary Lightness
Many clients experience a phase where the brows look lighter than expected. This is temporary. As the skin continues to settle, pigment reappears more clearly.
Do: Be Patient With the Mirror
This is not the time to judge your final results. Healing has a timeline. Brows need time to settle into the skin and soften into their intended appearance.
Weeks 2–4: The Settling Phase (Where Things Start Looking “Right”)
Welcome to the calmer part of the healing journey.
During weeks 2–4, clients often notice:
- Color becoming more even
- Edges softening
- Brow shape looking more natural
- Overall balance improving
This is when many people finally say, “Okay… now I see it.”
Do: Resume Normal Routines Gradually
As healing progresses, you’ll be able to return to your regular beauty and skincare habits around the brow area. Just avoid aggressive treatments directly on the brows during this settling window.
Do: Observe How Your Skin Retained Pigment
This phase helps your artist evaluate how your skin responded to the initial treatment. Some areas may retain pigment more strongly than others.
This information becomes useful when planning refinement during a second treatment if one is recommended.
Don’t: Compare Your Healing Timeline to Someone Else’s
Everyone’s skin heals differently. Oil production, lifestyle, skincare habits, and natural skin behavior all play a role.
Your friend’s brows are not your brows. Your timeline is your timeline.
Long-Term Care: The “Beauty Maintenance” Mindset
Microblading is semi-permanent. That’s not a downside—it’s part of the design.
Like other beauty services, microblading works best when you approach it as maintenance rather than a one-time event.
Think of it like:
- Hair color refreshes
- Lash fills
- Skin treatments
- Even injectable timelines
You’re maintaining a look you enjoy. Not “fixing a problem.”
Do: Plan for Maintenance Windows
Microblading results typically soften gradually over time. Many clients plan refresh appointments to keep their brows looking balanced and defined.
If you want a realistic timeline breakdown for long-term wear, this guide is helpful: microblading longevity overview.
Do: Protect Your Brows From Excessive Sun Exposure
Sun exposure can accelerate fading. Wearing hats and using sun protection around the brow area helps preserve results longer.
Do: Keep Brows Hydrated
Healthy skin supports healthy pigment retention. Simple hydration habits help extend the life of your results.

Common Mistakes That Can Affect Healing
Let’s talk about the mistakes clients make most often—not to shame anyone, but to help you avoid unnecessary stress.
Mistake #1: Overwashing or Overcleansing
Too much cleansing can disrupt healing skin. Follow your artist’s specific instructions instead of overdoing it.
Mistake #2: Picking Scabs
This one deserves repeating. Picking interrupts the natural healing barrier and can affect how pigment settles.
Mistake #3: Applying Makeup Too Soon
Covering healing brows with makeup can introduce bacteria and slow the healing process.
Mistake #4: Ignoring Lifestyle Factors
Heavy sweating, excessive sun exposure, and aggressive skincare routines can all influence healing results.
Mistake #5: Skipping the Second Treatment When Recommended
The second treatment exists to refine, strengthen, and balance healed results. Skipping it can leave brows unfinished.
Next in Part 3: FAQ section, long-term expectations, and final survival tips that help clients feel confident about their brow journey.
Frequently Asked Questions: The Stuff Everyone Googles at 11 PM
1) Will my brows be too dark at first?
Yes — and that’s normal. Fresh microblading always appears bolder immediately after the appointment. As healing progresses, the color softens and blends into a more natural tone.
2) How long does microblading usually last?
Microblading is semi-permanent and gradually softens over time. Many clients plan maintenance within the typical beauty cycle range of 12–18 months, depending on skin type, lifestyle, and aftercare habits.
3) Does microblading hurt?
Most clients describe the sensation as mild scratching or pressure. Comfort measures are used throughout the appointment to help minimize discomfort.
4) Can I go back to work the next day?
Yes. Many clients return to normal activities immediately, keeping in mind that brows will appear darker during the first few days. Planning your appointment with your social calendar in mind is always helpful.
5) When can I wear makeup again?
Makeup should be avoided directly on the brow area during early healing. Once the skin has settled, you can gradually resume your normal routine.
6) Can I exercise after microblading?
Heavy sweating is typically avoided during the early healing phase. This helps protect the healing skin and supports better pigment retention.
7) What if one brow looks different than the other while healing?
This is common during the healing process. Brows rarely heal at the exact same pace. Final balance is evaluated once healing is complete.
8) Do I really need a second treatment?
A second treatment is often recommended to refine shape balance and strengthen the healed result. It’s part of the professional microblading process, not an “extra.”
9) Can I tan or go in the sun after microblading?
Sun exposure should be limited during healing and managed long-term to preserve pigment appearance.
10) How do I know if microblading is right for me?
The easiest way is to schedule your appointment so your skin type, lifestyle, and brow goals can be evaluated professionally.

What Real Clients Experience (And Why Expectations Matter)
One of the biggest differences between happy clients and stressed clients is expectation management.
Clients who understand the healing timeline, the maintenance cycle, and the “normal” stages of microblading tend to enjoy the process much more.
If you’d like to see real feedback and experiences from other clients, this resource is helpful: microblading treatment reviews.
Why Microblading Is a Beauty Investment — Not a One-Time Event
Microblading works best when it’s treated like other beauty services you already accept as maintenance:
- Hair color refreshes
- Lash fills
- Skincare treatments
- Professional facials
You’re not paying for “forever brows.” You’re paying for:
- Time saved every morning
- Consistent shape without daily makeup
- Balanced brows that frame your face
- Confidence when you leave the house makeup-free
That’s the real value.
How to Get the Best Possible Results
If you want microblading results you actually enjoy long-term, here’s the simple formula:
- Choose experience over shortcuts
- Follow aftercare instructions consistently
- Be patient during healing
- Plan maintenance realistically
And if you want to see real outcomes before committing, spend time reviewing the gallery to understand healed results and style variety.

Final Survival Tip: Trust the Process
Microblading isn’t instant gratification. It’s a process — and a well-designed one.
There will be bold days, flaky days, “why do they look lighter?” days, and then finally… the “wow, these are actually my brows now” days.
When you understand the timeline and follow the plan, the results are worth it.
If you’re ready to start your microblading journey or want professional guidance on your brow goals, begin with BrowBeat Studio and take the next step by scheduling your appointment.